In the Professional Zone you can download InDesign templates for various photo products of your choice. The templates are based on the exact dimensions of the photo product and contain a number of guidelines, which are explained below using a template for a Photo Book.
Please note that due to material limitations, special covers only allow text and clipart, not image files. The only exceptions are white leatherette and acrylic or brushed metal print covers for Professional Line photo books. If you choose a special cover such as Natural Linen, it must be designed using our online designer. PDF uploads are not supported for Special Covers. This is to ensure optimal reproduction on the final product.

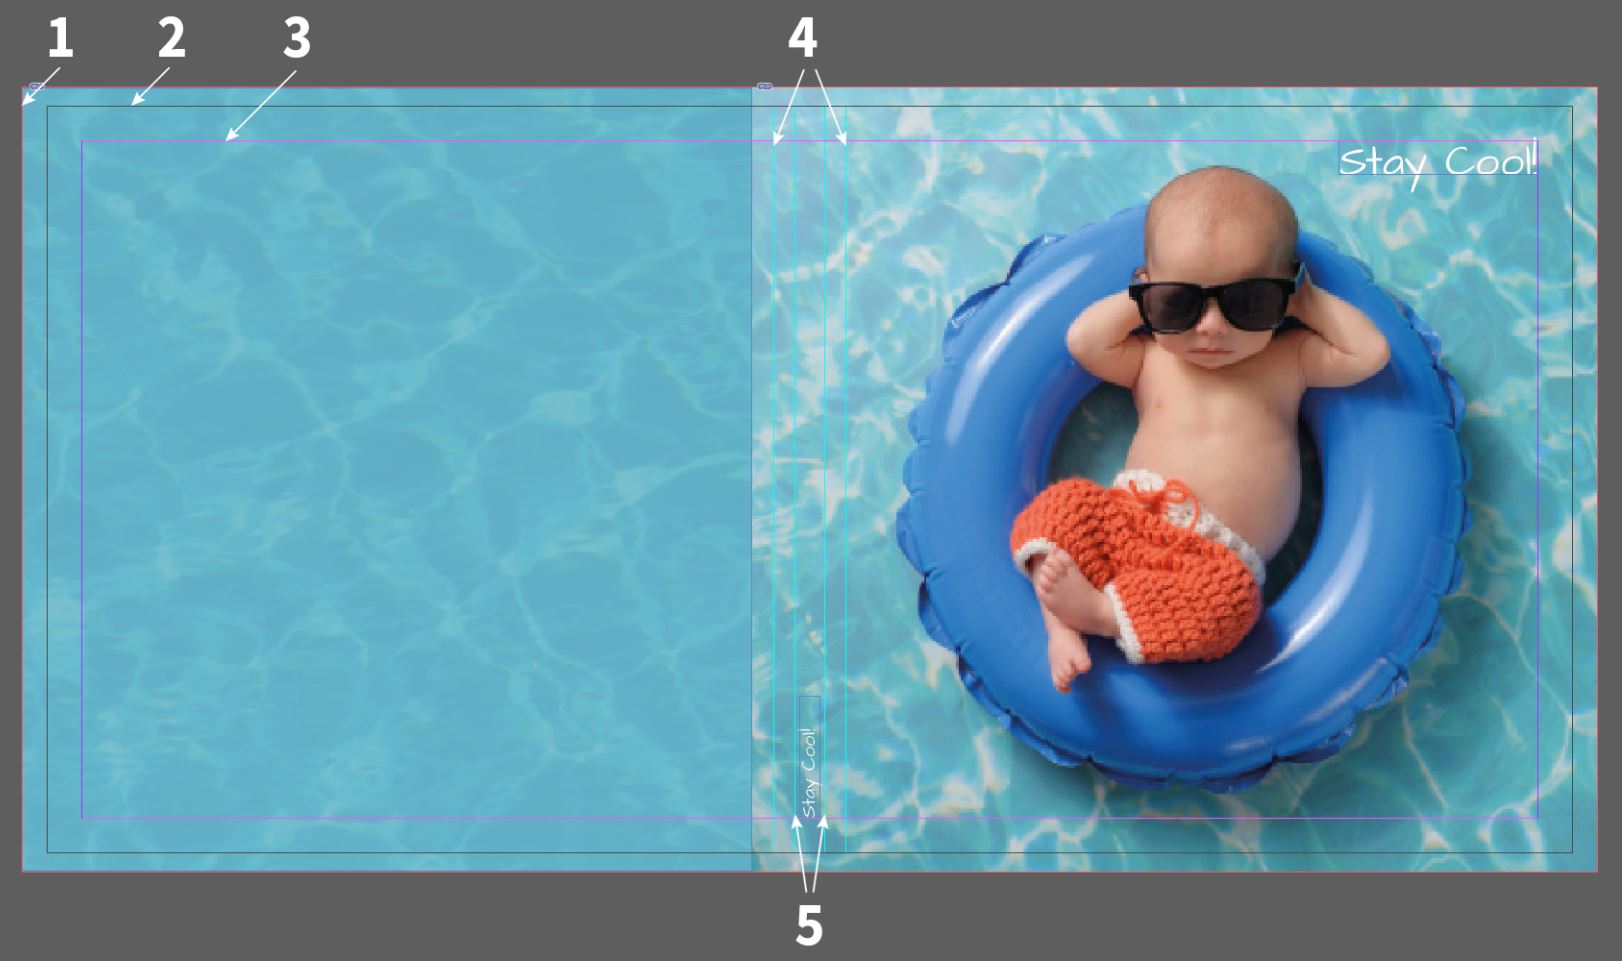
Photo book:
When using the PDF Export function (recommended when using InDesign and QuarkXPress), we suggest using High-quality printing when exporting, or use our Adobe PDF Saal Digital preset. In Output please change the target colour space to RGB Colour Space — sRGB IEC61966-2.1 (see screenshot below). If you use the Double Pages function (for photo books) with a layout program such as QuarkXPress or InDesign, please ensure that you have selected the Print Sheets (QuarkXPress = Mounting Surfaces) checkbox. It is important that we receive every double page as a page in the PDF.
Please note that the Use interface settings of the document checkbox is activated when you use our templates (see screenshot below).
You do not have to combine the PDFs (Double page cover and inside pages) but you can also upload 2 PDFs.
Please always optimise your PDF prior to uploading to reduce the amount of data and to convert any masks, transparencies and metadata that may cause problems during import.

Trimming (for PDF Export): In the PDF export field under Marks and Bleeds please use the Use interface settings of the document, checkbox if you have previously defined the trimming in the document.

Adobe PDF Presets: In order to avoid problems with the production of printable data, we also offer you a PDF export our Saal Digital job options for download free of charge. You can use these for all InDesign versions. Please download the job options here and install them on your computer.
To load the job options in InDesign or Photoshop click File and under Adobe PDF Presets, select Define. Then click Load and select the Saal Digital.joboptions from the saved location on your computer.
You can now select the Saal Digital profile under Adobe PDF Presets and then export your PDF.


Professional photographers receive exclusive discounts, sample product advantages, and a dedicated shop and gallery system — all in one professional account.

Get exclusive discounts and designing tips! By signing up, you acknowledge our Privacy Policy. You can unsubscribe at any moment.


